

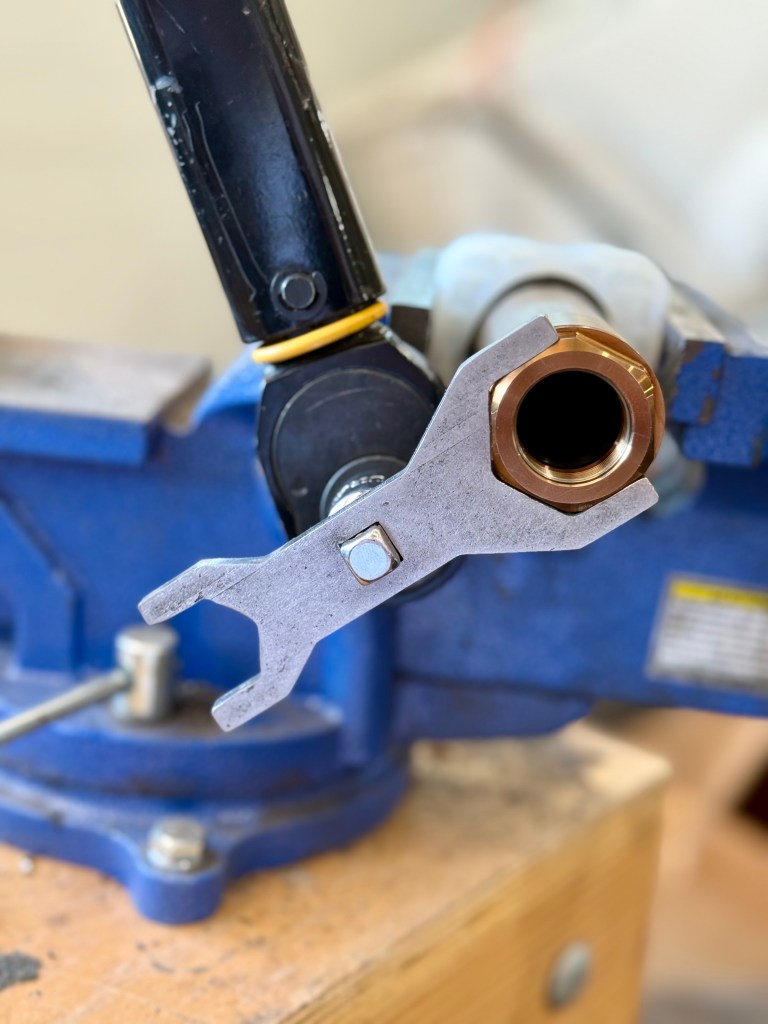
Installing a HUB adapter correctly ensures a secure, concentric fit for your suppressor and prevents the muzzle device from backing off during fire. Utilizing the proper tools and thread locker is essential for a “set it and forget it” installation.
Materials Required
Before beginning, ensure you have the following items on hand:
- HUB Adapter (1.375×24 TPI) – brand of your choice (e.g. Rearden, Comstock Armory, Kaw Valley Precision, etc.)
- Concentric Tool Co. CT-1 Installation Tool
- Rocksett (Ceramic thread locker)
- Isopropyl Alcohol (90% or higher preferred) and lint-free wipes
- Torque Wrench (Capable of measuring 25–30 ft-lbs)
- Vise and Suppressor Clamps (Optional, but highly recommended for stability)
1. Preparation and Cleaning
Before installation, ensure all mating surfaces are free of carbon, grease, or old thread locker.
- Clean Threads: Use a wire brush and isopropyl alcohol to clean the internal threads of your suppressor tube and the external threads of the HUB adapter.
- Dry Fit: Thread the adapter into your suppressor by hand to ensure the threads are smooth and there is no cross-threading.
2. Applying Rocksett
Rocksett is the industry standard for muzzle components because it is heat-resistant up to 2,015°F but can be broken with a sharp mechanical shock or a long soak in water.
- Application: Apply one or two small drops to the external threads of the HUB adapter. You do not need to coat the entire thread surface; the liquid will spread as you tighten the component.
- Avoid Excess: Using too much Rocksett can lead to “hydraulic lock” or make future removal unnecessarily difficult.
3. Mechanical Installation
The CT-1 tool is specifically designed to interface with the adapter architecture, providing more surface contact than a standard adjustable wrench, which prevents marring and slipping.
- Hand Tighten: Thread the HUB adapter into the back of your suppressor until it is finger-tight.
- Engage the CT-1: Slide the CT-1 tool onto the notches of the adapter.
- Torque to Spec: Using a torque wrench attached to the CT-1, tighten the adapter to 25–30 ft-lbs.
- Note: The CT-1 allows you to apply this force evenly across the adapter’s geometry, ensuring the HUB interface is fully seated against the suppressor shoulder.
4. Curing and Final Check
Rocksett requires time to set properly before the firearm is used.
- Cure Time: Allow the assembly to sit for 24 hours at room temperature before heading to the range.
- Concentricity Check: Once installed, it is highly recommended to use a bore alignment rod to ensure the suppressor and adapter are perfectly concentric to the bore.